Nice job completing Chapter 2! You should now have either:
- OpenCV, Python, and the other Python packages installed on your system.
- Your Ubuntu VirtualBox virtual machine installed and set up (for owners of the Quickstart Bundle or Hardcopy Bundle).
Of course, this is just the start!
You might be confused by the usage of Python virtual environments that I recommend (and use heavily) on the PyImageSearch blog.
Or maybe you want to install OpenCV on your native system, but you need a more thorough tutorial (no worries, I’ll be sharing links to install OpenCV on your system later on this page).
Or perhaps you ran into an issue booting your pre-configured Ubuntu VirtualBox virtual machine (again, relevant only to Quickstart Bundle or Hardcopy Bundle owners).
No problem, I’ve got you covered — check out the rest of this page for more details.
Installing OpenCV
Need a bit of help installing OpenCV on your system?
Be sure to check out the OpenCV 3 tutorials page, where I provide OpenCV installation instructions for OSX, Ubuntu, and Raspbian for both Python 2.7 and Python 3. These instructions are very thorough and cover step-by-step how to get OpenCV installed on your system.
Start by finding the operating system that you are running — and then select whether you will be using Python 2.7 or Python 3.
From there, you’ll be guided to an OpenCV installation guide to help you get up and running.
What about Windows?
If you’ve taken a look at the OpenCV 3 installation guides, you’ll notice that I do not have any install tutorials for the Windows OS — this is not a coincidence.
I personally have not used Windows regularly in over 9 years, and I officially do not support it here or on the PyImageSearch blog.
Instead, I highly recommend that you utilize a Unix-based OS such as OSX, Ubuntu, or Raspbian in your computer vision studies. I will not be able to provide installation support if you are using Windows.
Can I skip installing OpenCV?
Finally, keep in mind that I offer a downloadable Ubuntu VirtualBox virtual machine inside the Quickstart Bundle and Hardcopy Bundle of Practical Python and OpenCV that comes with OpenCV, Python, and all other necessary packages pre-configured and pre-installed.
This virtual machine can save you a bunch of time (and relieve your headaches) as you’re just getting started in your computer vision studies. Plus, you can always install OpenCV on your native system at a later date.
If you would like to upgrade your Practical Python and OpenCV bundle to either the Quickstart Bundle or Hardcopy Bundle, just send me a message.
What are virtual environments?
If you followed one of my OpenCV install tutorials (or if you’re a long-time reader of the PyImageSearch blog), you may have noticed that I make heavy use of Python virtual environments.
So what exactly are Python virtual environments — and why are they so important?
At the very core, Python virtual environments allow us to create isolated, independent environments for each of our Python projects.
This implies that each project has its own set of dependencies, regardless of which dependencies another project has.
So why in the world would we want to create a Python virtual environment for each of our projects?
Consider this:
Suppose we are software contractors hired by a company to develop ProjectA, but before we have completed ProjectA, a second company hires us to develop ProjectB. We notice that both ProjectA and ProjectB have a dependency on LibraryA…but the problem is that ProjectA requires v1.0.0 of LibraryA while ProjectB requires v2.0.0!
This becomes a real problem for Python because we cannot install two different versions of the same library into the same site-packages directory (i.e., where Python stores third party libraries, such as the ones you download and install from pip , GitHub, etc.).
So, what do we do?
Do we run to the nearest Apple store and buy a new MacBook Pro so we can use one laptop to develop ProjectA and the other to develop ProjectB?
I really hope not. That would become expensive quick.
Do we use a web host like Linode, Digital Ocean, or Amazon EC2 and spin-up a new instance for each specific project?
This is a better solution, and highly applicable in some cases, but in our specific instance, it’s overkill.
Or do we just use Python virtual environments?
You guessed it — we go with Python virtual environments.
In this case, all we need to do is create a virtual environment for each project; that way there is a separate, isolated, and independent environment for all projects:
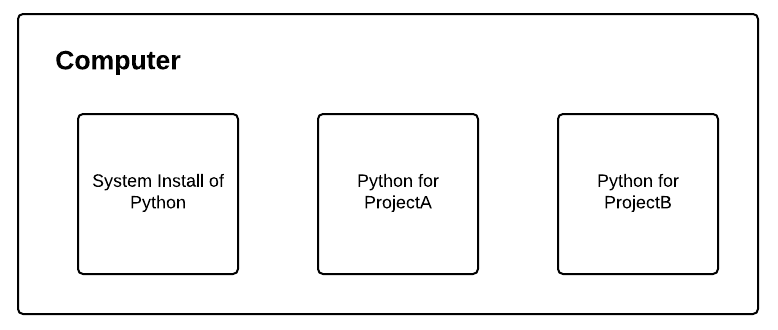
This setup allows us to install completely different dependencies for ProjectA and ProjectB, ensuring we can finish developing both projects on the same computer.
Pretty neat, right?
Of course, I’m only scratching the surface of the benefits to using Python virtual environments.
For a more thorough tutorial on Python virtual environments, please refer to this excellent Python virtual environments primer on the RealPython blog:
https://realpython.com/blog/python/python-virtual-environments-a-primer/
Booting problems with the VM
If you are a Windows user, you may have received an error message similar to the one below when you try to import and boot your virtual machine:
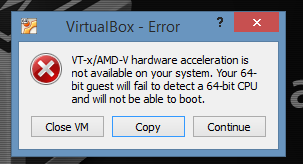
Does the above error message look familiar?
If so, the culprit is “Hyper-V mode” in Windows. Please consult the README.pdf file in the downloads of your Practical Python and OpenCV bundle for the quick-fix required to resolve this issue.
Choosing a code editor
A common question I get asked is:
What code editor should I be using when writing Python + OpenCV code?
In all honesty, this really depends on you as a developer — a code editor is a very personal choice. In fact, I purposely did not include a code editor (other than Sublime Text 2) on the VirtualBox VM.
How come?
The reason is two-fold:
- Installing a code editor would have increased the download size of the VM, which means that it would have taken longer to download and install.
- Not every developer can agree on a single editor to use.
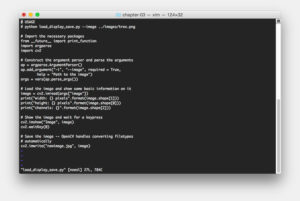
For example, when I was 14 years old, first learning how to code, I was very into using the terminal — it made me feel like a “hacker”.
Since I was ingrained in the terminal, I often used Vim as my editor:
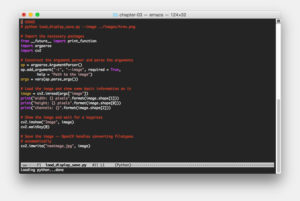
My other friends liked to use Emacs:
Terminal-based editors are lightweight, but the problem is that they tend to have a pretty high learning curve, especially if you are not familiar with the terminal/command line.
If you’re looking for a GUI editor that has a small memory footprint, I recommend Sublime Text:
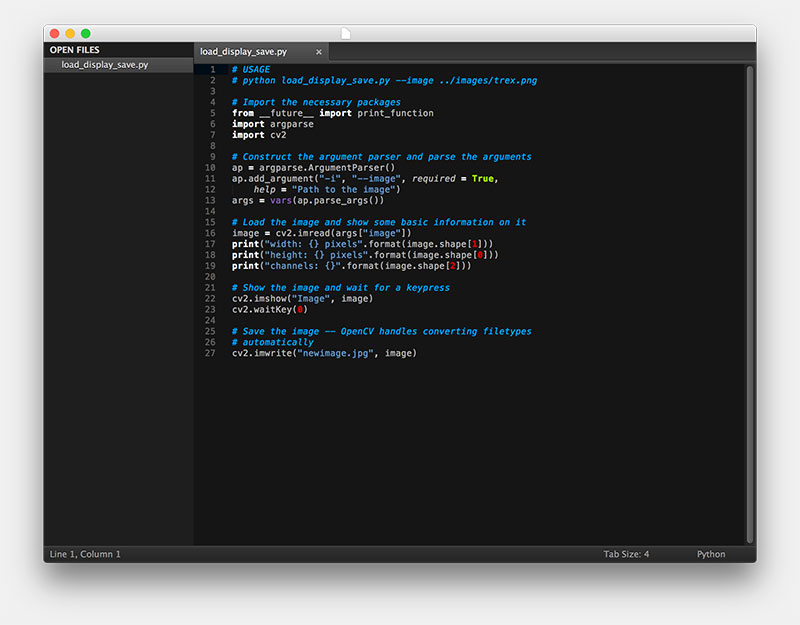
Sublime Text is fully customizable but also allows you to edit code right out of the box. I highly recommend you at least try Sublime Text, as it’s an excellent editor.
Finally, you might be more interested in a full-blown IDE for editing your code. In that case, you really can’t beat PyCharm:
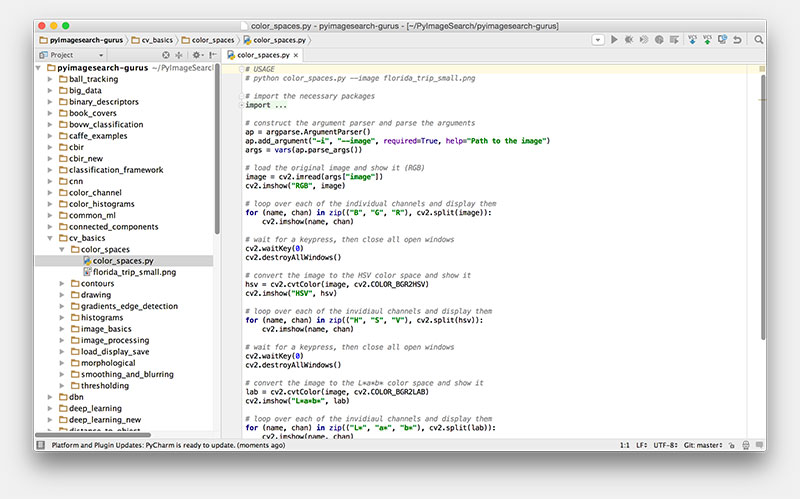
PyCharm is essentially the equivalent of Eclipse (for Java), but instead for the Python programming language.
I personally love PyCharm, but I only tend to use it on larger projects where I have tens to hundreds of source files and very specific project configurations. Otherwise, I find PyCharm to be a bit “bloated” for a simple code editing. Furthermore, since PyCharm is a bit of a memory hog, you won’t be able to use it on your Raspberry Pi.
If you decide to go with PyCharm, be sure to follow this tutorial to get set up and properly configure your development environment: